The Mac has lots of buried treasures, like a full-on emoji keyboard and a simple manner to rename a group of files with only a few clicks.
Here are seven functions Mac users can use, you’ll hopefully sense the identical way.
1. Fill out and sign documents
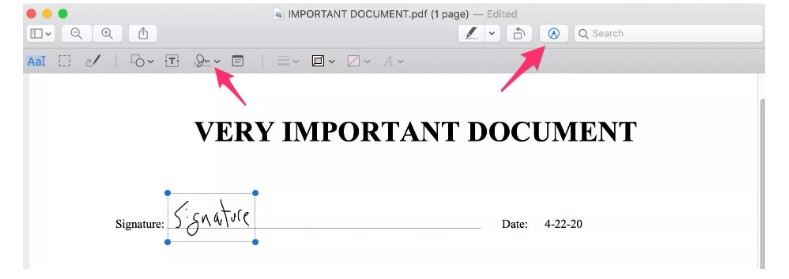
Instead of using a third-birthday party app to signal a record, use the Preview app to your Mac. The potential to add a signature has been in Preview as early as 2011, but it’s now not the most discoverable feature. After the preliminary setup (which is easy on its personal) signing a document in preview takes just more than one taps. Seriously, I use it all the time.
- Open the report you want to sign up Preview, then click on at the pen icon next to the hunt bar at the take of the window. Click at the signature box followed with the aid of Create Signature.
- You can either signal a piece of paper and keep it up on your Mac’s camera, use the trackpad to sign, or sign your name in your iPhone’s display screen.
2. dark mode
 In fact, Apple introduced a committed dark mode to the Mac well before the iPhone and iPad obtained the same characteristic. Crazy, right? With Dark Mode grew to become on, all apps that help the characteristic will flip from light and bright hues to a almost black color, making it simpler for your eyes to have a look at the display screen at night.
To use Dark Mode, open System Preferences and click General. At the pinnacle of the Settings pane you’ll discover 3 options: Light, Dark or Auto. The latter two will change to darkish mode, with auto the use of the time of day to switch between mild and darkish.
3. Emoji
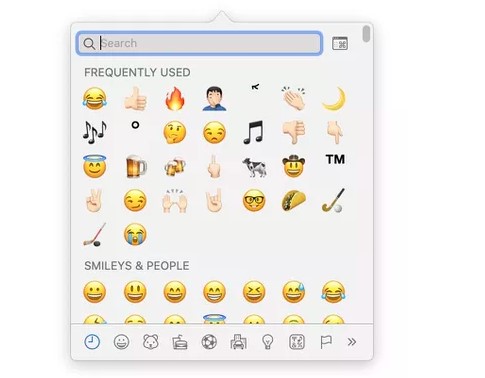
Your Mac has its personal emoji keyboard, much like the one on your phone. Getting to it, but, it is as clean as hitting a committed button on the keyboard. It’s sincerely a series of buttons at the keyboard, and when you devote them to memory, you’ll be sending emojis from your Mac with ease.
Whenever you’re typing, press Control+Command+Space bar. A second later, the emoji picker will display up, entire with a search bar.
4. Quickly rename multiple files
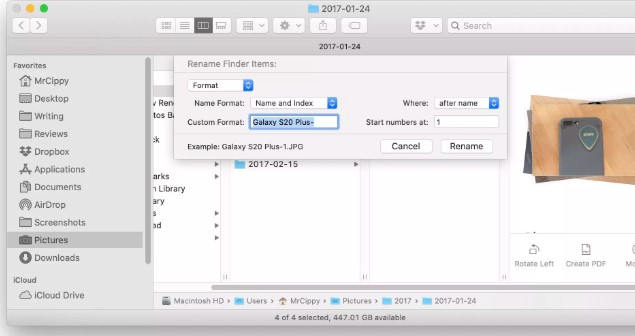
Ever have a collection of files you want to rename, and hate spending the time to personally call them? Open the folder that has your files, and pick out all of them. The easiest manner to do this is to click on the primary file, maintain down shift, and click on the ultimate file.
Right-click on at the highlighted files, and choose Rename x Files. Fill in the facts you want to use, the use of the drop-down menus to modify the settings, and then click on Rename when you are done.
5. Use your iPad as a 2nd display
Last year, Apple introduced Sidecar, a characteristic that turns your iPad into a wireless second show on your Mac. Prior to Sidecar, you had to shop for a third-birthday party app or adapter in an effort to make it work.
You’ll need to have MacOS Catalina mounted to your Mac, and iPadOS thirteen or newer installed in your iPad Pro so one can use it.
When you are ready to increase your Mac’s display screen, click at the AirPlay icon inside the menu bar at the top of your display screen and pick out connect to your iPad. Your iPad will then display an extended laptop of your Mac that you could drag apps to, or use it but you would any other show.