Google Ad Manager. In a nutshell, it’s miles a simple (and free) web service that helps you manipulate banner commercials. It additionally comes with a quite entire inventory file module. Ad Manager integrates with AdSense, therefore webmasters have the potential to serve AdSense ads if there’s no banner for any precise slot.
How to Set up Google DFP for Small Business?
If you already have an account with AdSense, you may at once create an account in Google DFP account. However, if you don’t have one, then create an AdSense account. You cannot sign-in to Google DFP while not having an AdSense account. Once you’re carried out with AdSense, you can register and set up Google DFP.
Create Ad Units
First and foremost, you need to create advert gadgets. To create and set-up advert units, follow the steps:
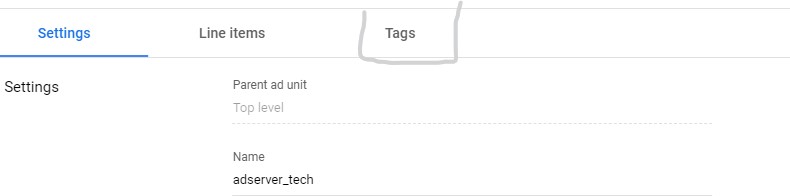
- Go to Inventory > New advert unit > One stage under “Network”. An advert unit may be created at a parent-stage or lower degree (under discern-level). If you click one level below “Network”, it’s a baby unit – created under an advert unit. If you want to create a determine unit, you could go along with “cutting-edge level“
Create advert unit in Google Ad Manager.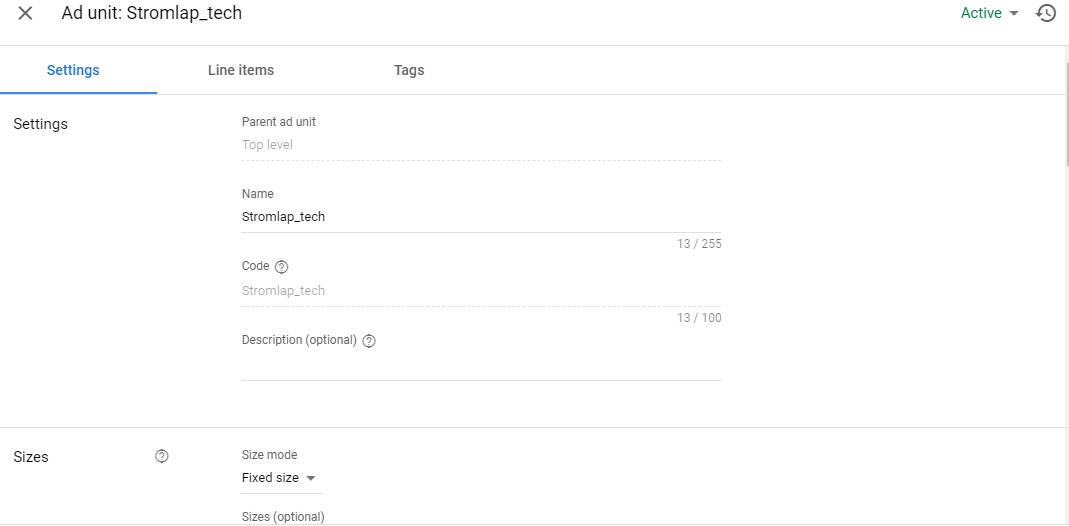
- Then, input a Code E.G. Adserver_tech. This code is used to perceive the ad unit inside the related ad tag (present within the source code of the site) and can not be changed once saved. While you debug/troubleshoot, you depend upon the code to understand the ad unit.
- Enter a name (E.G. Sitename_adsize_placement) and add a few lines about the ad unit within the description. Apparently, this could help you identify the unit at the Google Ad Manager interface.
Select the size of the advert unit from the drop-down menu (Size). You can choose a couple of size (for example, 300×250, 728×90, and 336×280). Need help to pick up the sizes, then test the satisfactory advert unit sizes guide. - From the Target window drop-down menu and pick certainly one of the alternatives i.E. Top or Blank. If you choose Top, the touchdown page associated with the ad will be opened within the present day tab while a tourist clicks the ad. If you want to open the landing page in a new tab, then select Blank (suggested).
- The placement alternative is non-compulsory and can be skipped for now (If you’ve already created placements, you can upload this advert unit to any of those placements. What are placements? If you need to group some of ad devices for targeting, you could create placements).
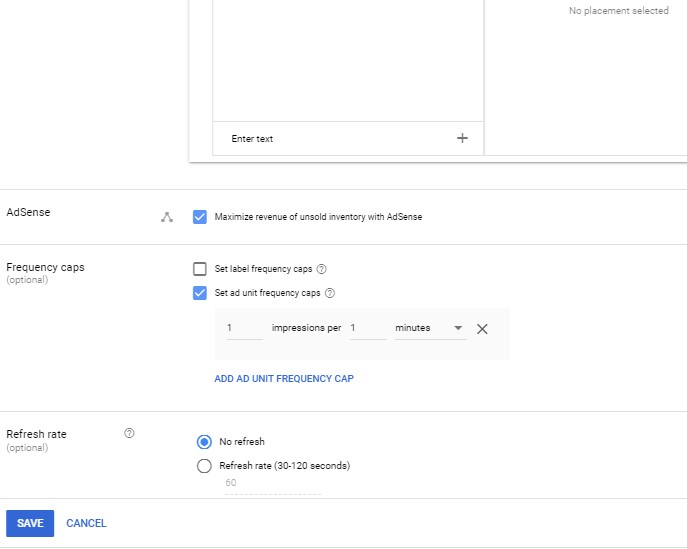
- Then, there is Ad unit frequency cape that limits the number of times a user is served certain ads.
- You have an option to refresh ads – with the help of a refresh rate. You can go everywhere between 30 and 120 seconds.
- Then, click on Save.
Create New Order
- Then, the next step is to set-up an ad campaign. This is how it’s carried out:
- Click Order > New order. Enter the call of the advertiser, for example, Amazon Adv.
In the Company block, click Add a brand new company. Enter the name the same as which you filled inside the call of the advertiser. And pick out one choice out of three – Advertiser, Ad Network, and House Advertiser.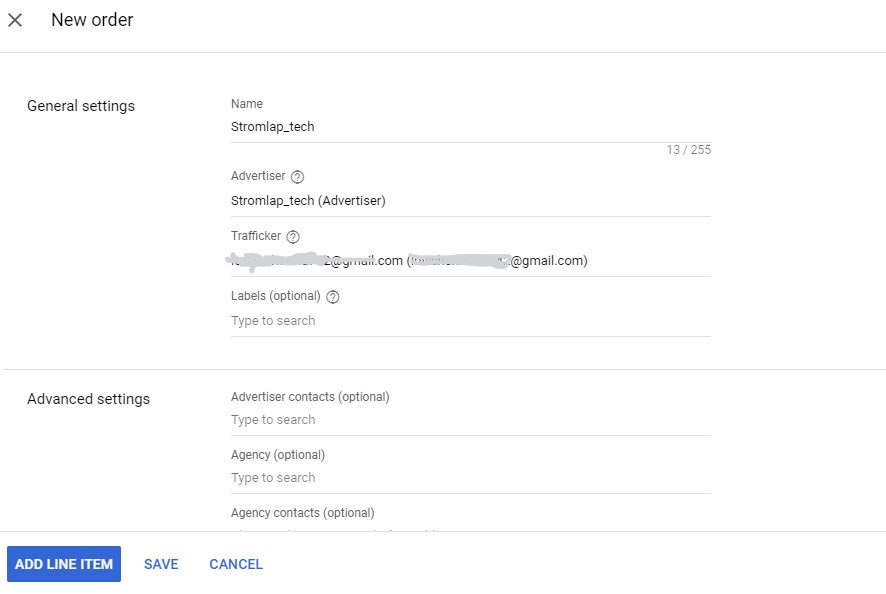
- Then, click on Save.
Fill your email deal with inside the Trafficker space.
New Order in GAM
Create New Line Item
- Follow the steps to create a brand new Line Item:
- Click Order > New line item. Enter the Name of the line item, for example, stromlap news.
In the Inventory sizes, add the sizes of line objects i.E. 336×280, 728×90, 468×90, and so on. You can upload multiple size here.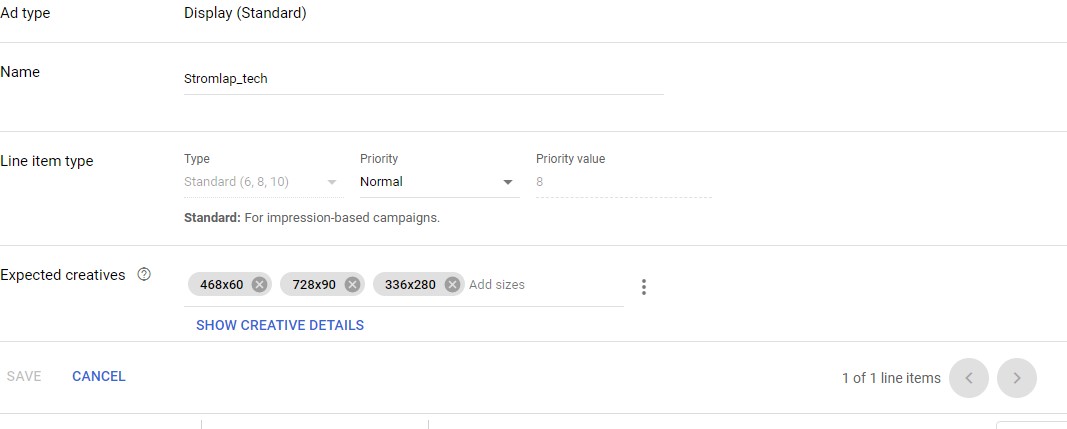
- Now, it’s time to configure Settings and Adjust Delivery.
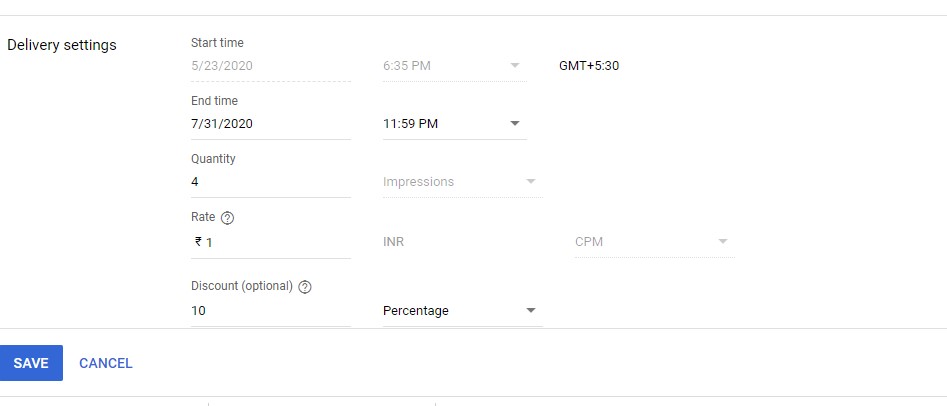
Create line item in GAM - Before making any changes inside the Settings, it’s essential to understand the terms concerned in this phase because these two sections outline the delivery of ads at the website.
- Google DFP enables publishers to prioritize the order of shipping of Line Items. Line Items are divided into 3 types based totally on their priority of shipping.
Add Targeting
- This segment is used to show advertisements primarily based on positive concentrated on alternatives. In Google DFP, follow the steps to add focused on to your line items:
- Click Inventory. Include the ad inventories in which you need to show centered commercials (This where you choose the advert units and/or placements you created within the first step. If a consumer loads the web page, the advert unit gets known as and then the unit will trigger the associated line items). And then Save.
- Then, click Geography and input the locations in which you need to show the ads.
Click the User Domains. It is used to target the customers coming from precise websites. For example – whilst you need to goal visitors coming in your internet site from another website abc.Site, then you can upload this referral website link within the User Domains. - Below to the User Domains, there may be a Browsing choice this is used to goal traffic based totally on their browsing details i.E. Browser they’re the usage of or their operating system, etc.
Add focused on in Line gadgets
Note: With Custom Criteria, you could target specific attributes since this feature allows additional concentrated on alternatives e.G. Tagging web pages to specific attributes and then concentrated on them.
Advanced Reading: A Beginner’s Guide to Key-Value Targeting
Ad Creative
- Now you need to upload ad creatives. To do this, visit the Creative tab in the left aspect menu bar and select the Add Creative. Then,
- Click on Add creative.
Select the advertiser by using looking for the name. Go to the Image file and upload an picture that is going to be displayed inside the advert slot*.
Enter the call of Line Item and the advertiser’s URL within the Click-via URL field.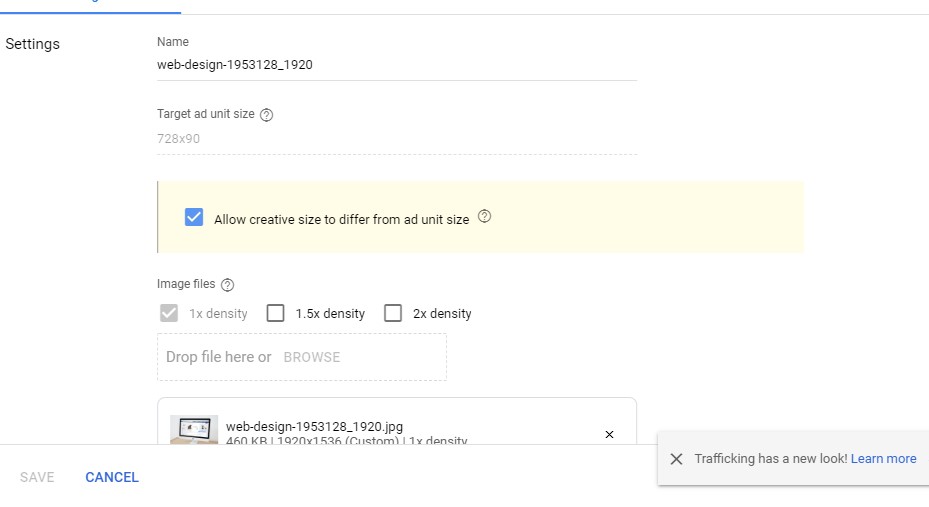
- Then, choose the Target ad unit length from the drop-down menu. And Save.
- This applies whilst you are going for walks direct deals with advertisers from whom you could get the ad creatives. If you’re running programmatic ads, you want to encompass a third-party advert creative inside the region of the photo file. So, instead of selecting the add image option, you are required to go with a “third-celebration tag”.
- Once you’ve delivered creatives, you’re required to partner it with line objects. It can be finished via navigating to the road object advent tab (refer step 3).
- That’s it. Next to it’s miles the ultimate step – Generate ad tags. Let’s see how to do that.
Generate Ad Tags
- After developing ad units, the following and final step is to generate ad tags and add the ones tags in your website’s code. This is how you may generate advert tags:
- Click Inventory > Generate tags. Then, pick out the advert devices for which you need to create advert tags. After selecting all the ad gadgets, click Generate tags on the bottom.
- Then, go to the Tag kind drop-down menu and pick out one – Google Ad Manager Tag, Google Publisher Tag (Asynchronous), and Google Publisher Tag (Synchronous).
Tick the Enable Single Request. This is optional. You can bypass it.
Then, replica the generated tag (within the Document header) for the header and paste it to the header code of your internet site.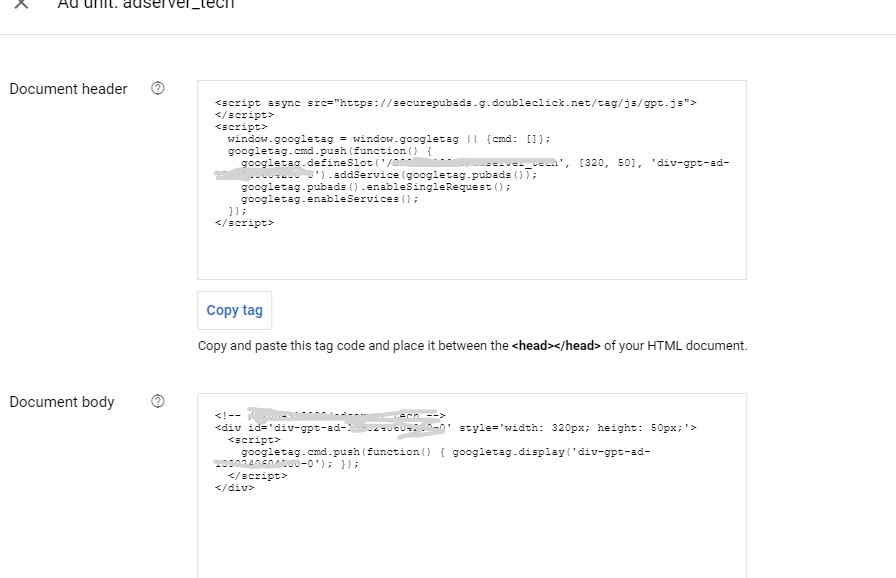
- This tag incorporates Publisher ID and all ad devices for that precise web page.
After doing this, reproduction the tags generated (in the Document body) and paste it under tag in your internet site’s source code.
To prevent errors and avoid messing up the live site, it’s good which you reproduction the generated codes, paste it on a clean HTML to check the output. If the ads do no longer show up, possibilities are your cutting-edge time isn’t yet the start date set in Orders and Line Items.
It’s accomplished! You are now coping with your website banners with Google Ad Manager. Login again few days later to check at the performance.